
Build a site with HotDog CMS
This site, built from the template in the editor. Narrated, with captions, and every step is written out below.
The steps
1. Start from the template
Install hotdog-cms (see Get started), then start a site with one command:
hotdog-cms new mysite
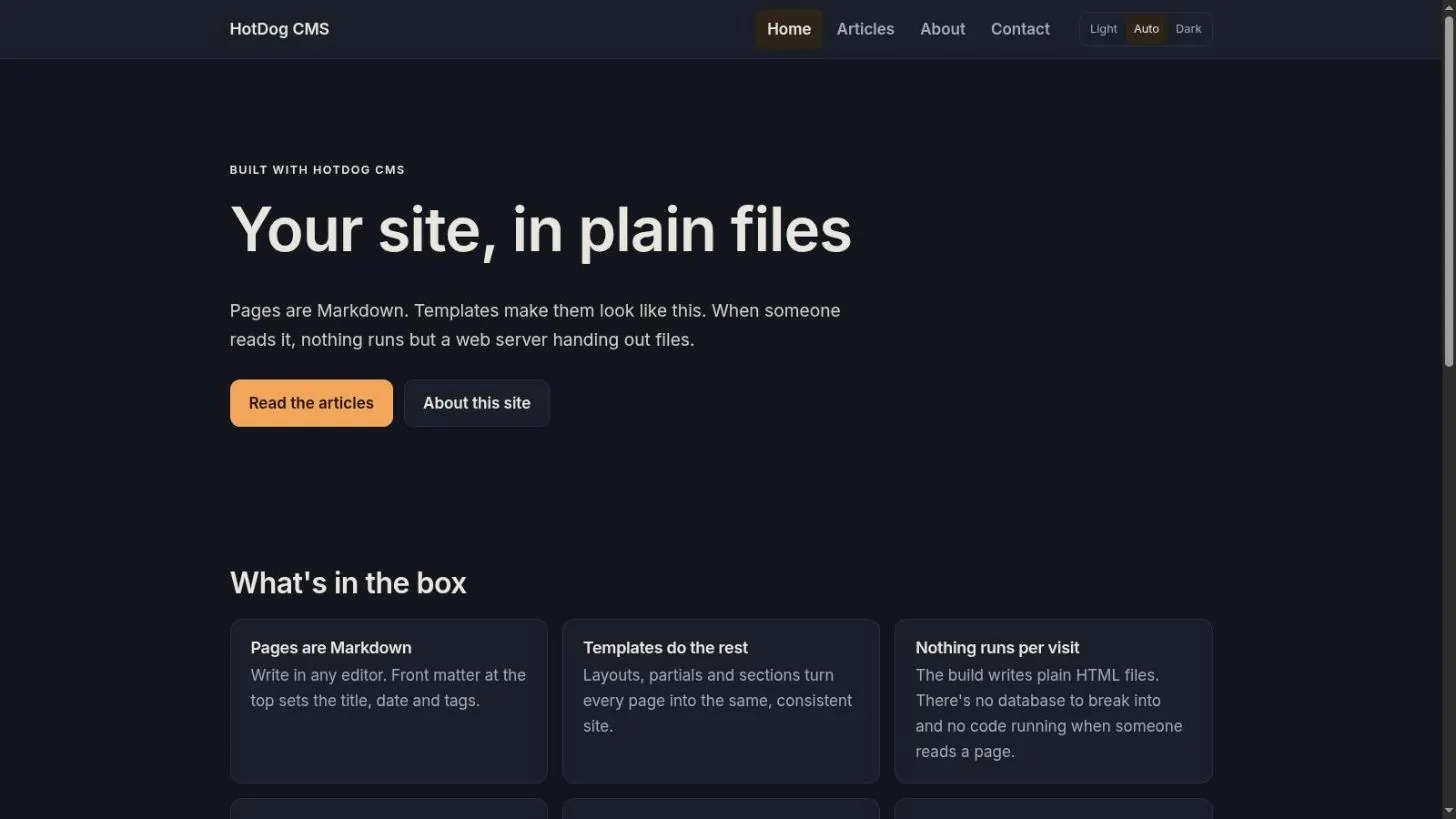
Set its name and address in site.yaml, and put the folder in a git repository. Every new site starts from the same template: a home page built from sections, a few pages and a collection of articles. Preview it with hotdog-cms serve.
2. Make it yours
Open the editor and sign in with your git platform. There are no editor accounts: you see the sites the platform lets you see. Nothing you do touches the live site until you publish.
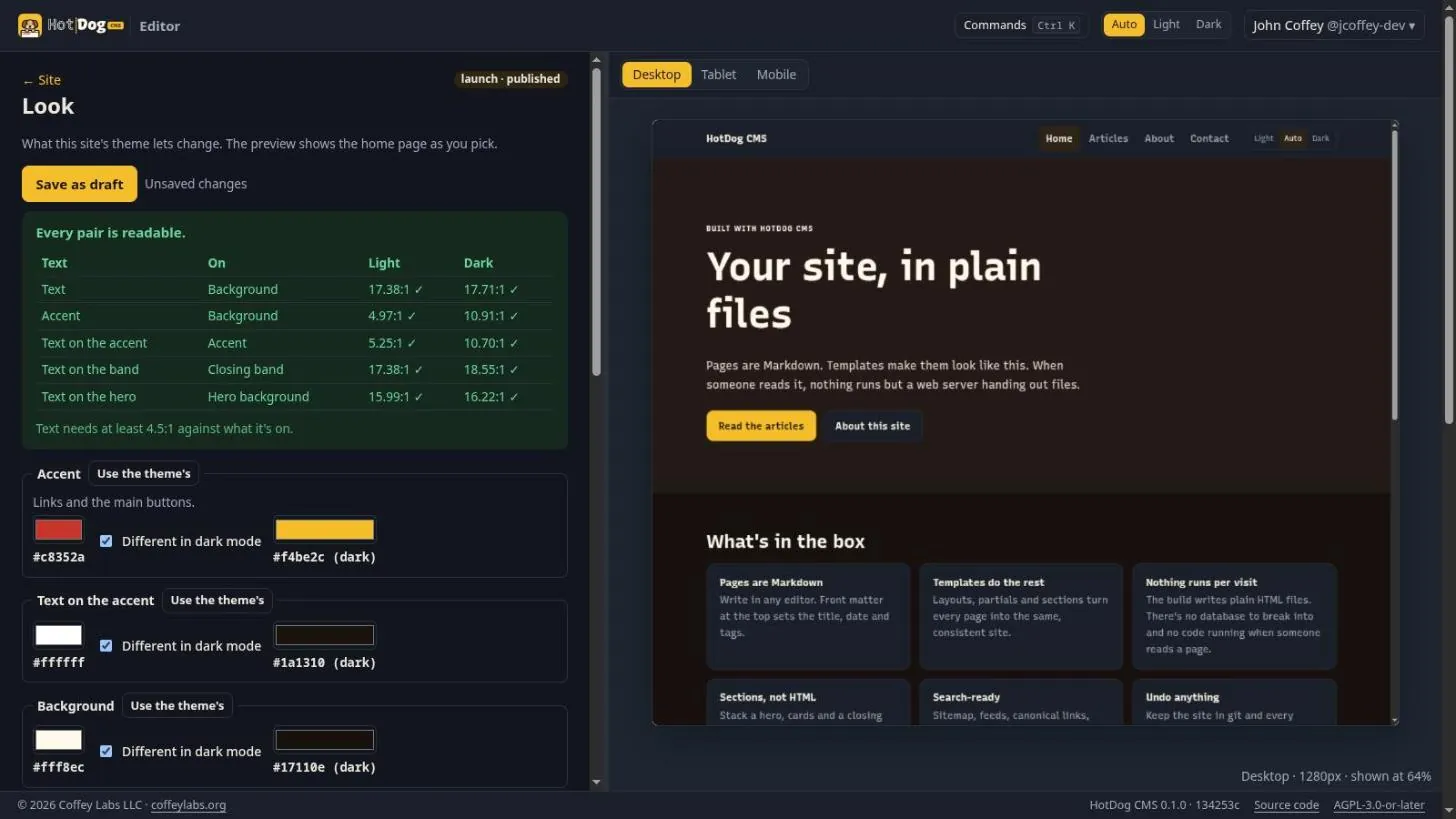
In Look, choose colors for light and dark mode, the font and the corners. The preview follows as you pick, and every color pair is checked so text stays readable.
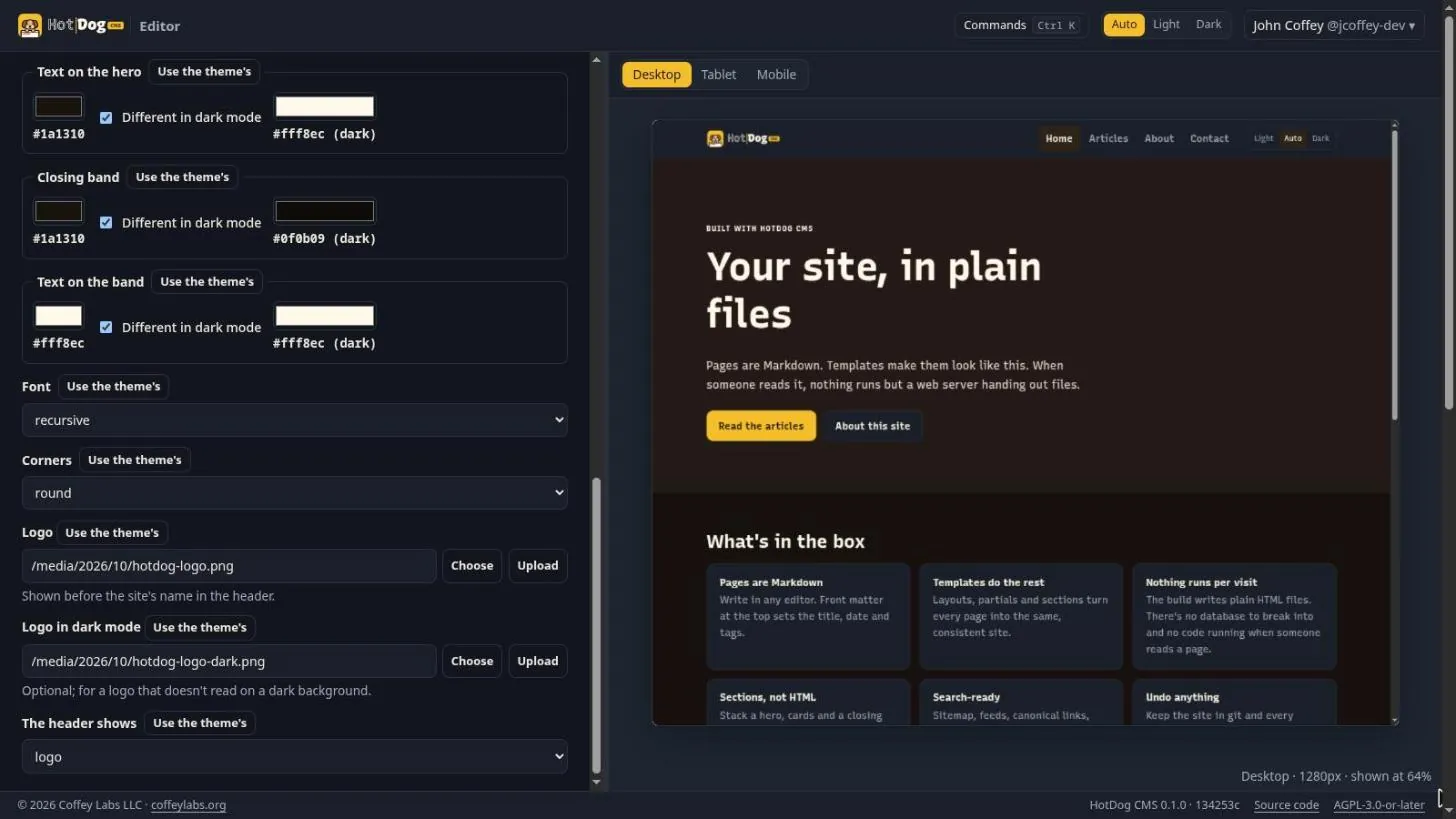
Upload a logo, and a second one for dark mode if yours needs it. If the logo has your name in it, the header can show the logo alone. Saving makes a draft: a branch of the site's repository.
3. Build the pages
Pages are stacks of sections. Open one and fill in its form: the heading, the text, a picture and buttons. The preview shows the page as you type. Prefer typing? Edit as YAML shows the same page as text.
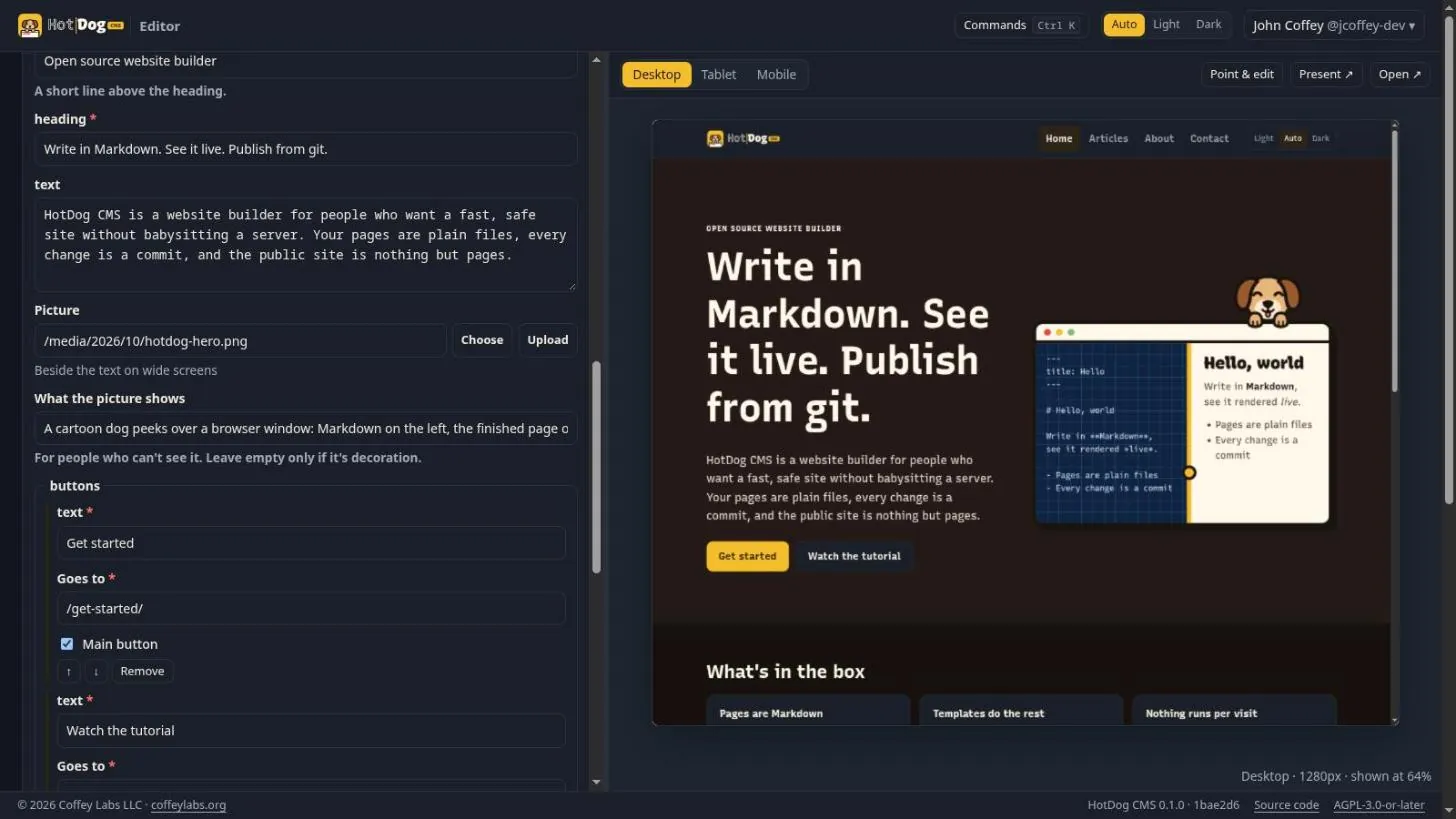
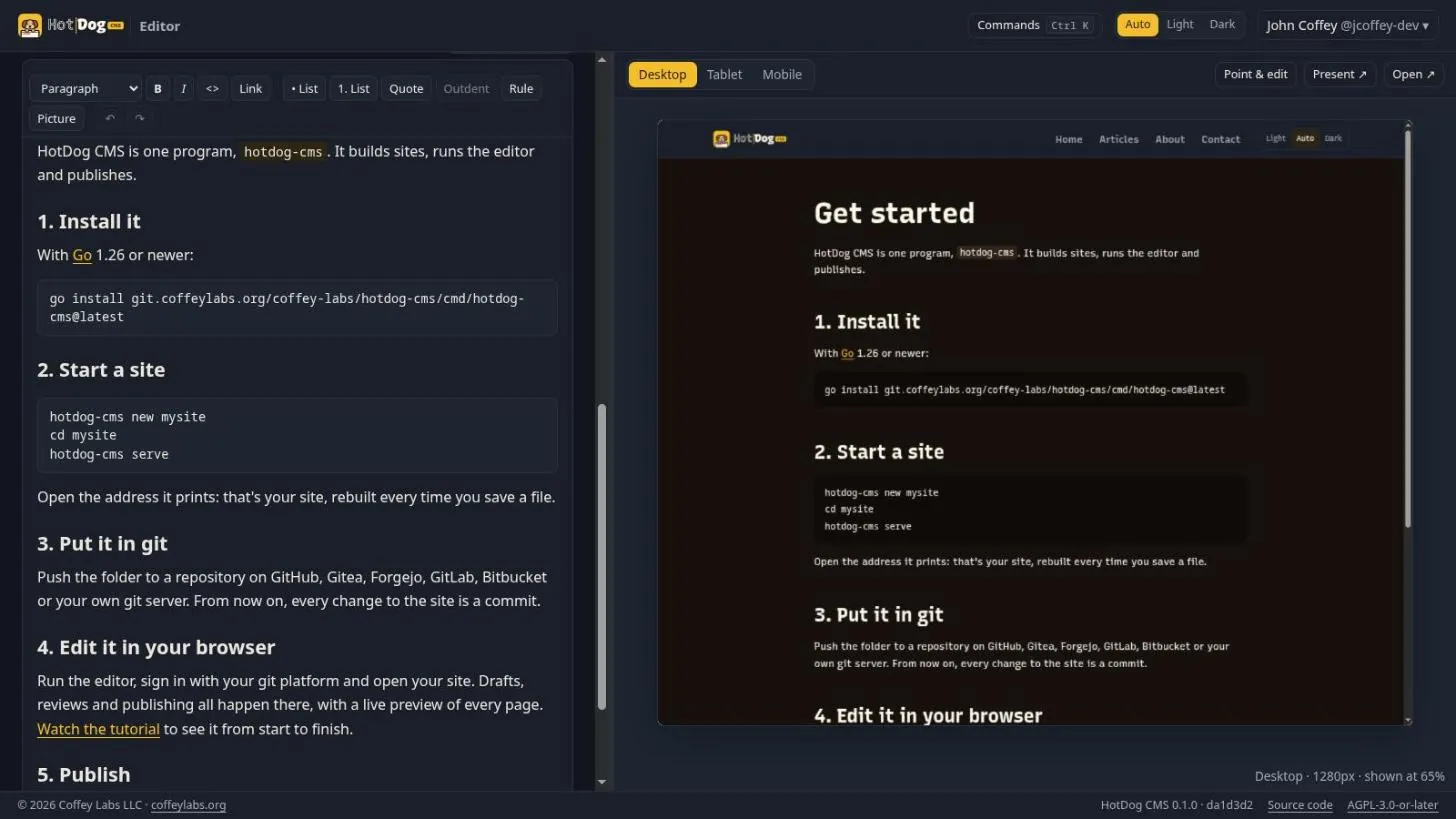
New page asks where a page goes and what it's called. Write in Markdown, or switch to Visual and write as you would in a word processor; either way the page is saved as Markdown. Files opens any file as text, for things with no form, like the menus, and shows what changes before saving. Privacy and statistics says who answers for visitors' data, and the privacy notice is written from it.
4. Review and publish
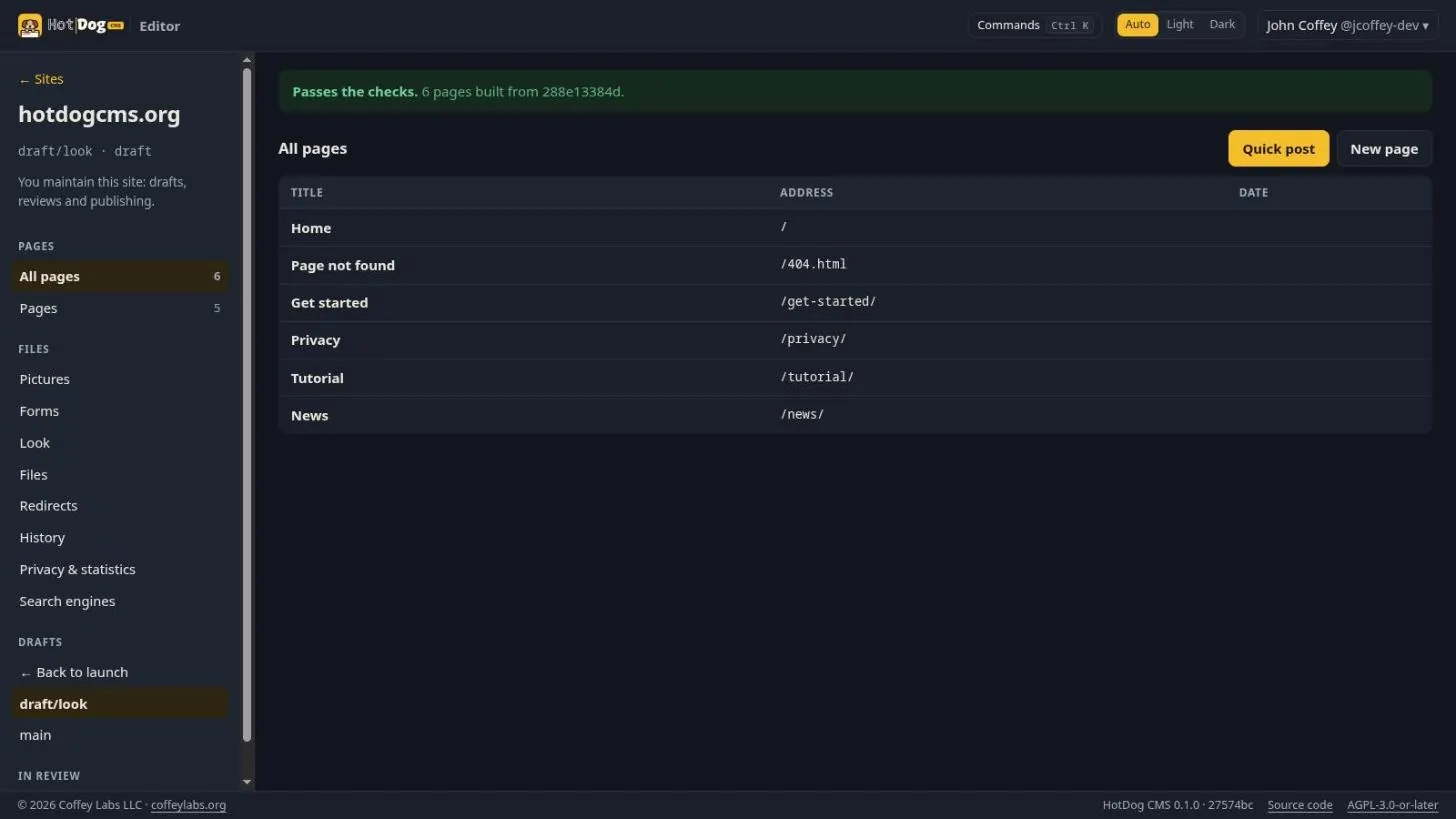
Before anything is published, the draft is built and checked: broken links, missing pictures, accessibility and privacy. Fix what it finds, and it says Passes the checks.
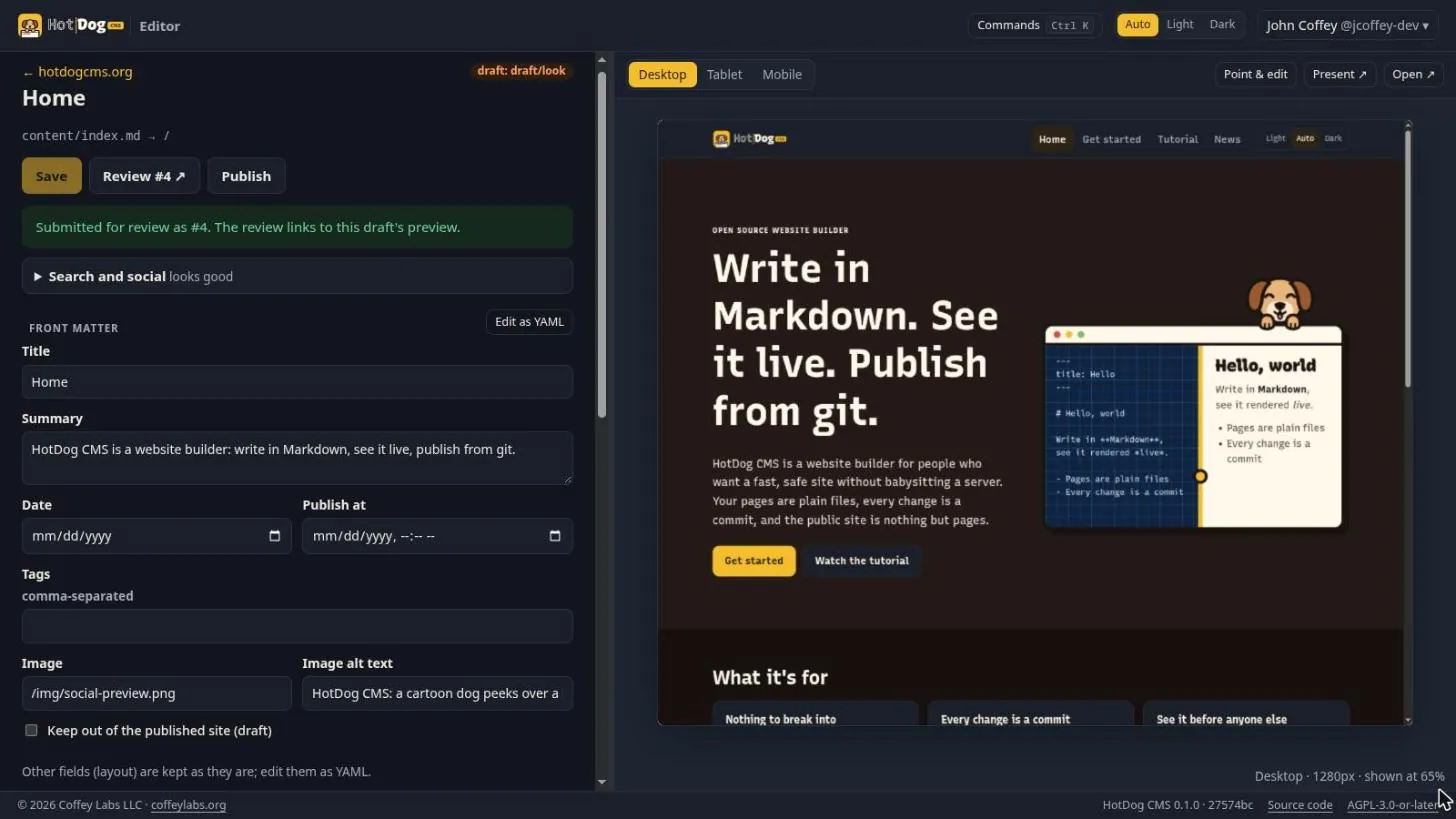
Submit for review opens a pull request on your git platform, with the check results, for someone else to look at. Publish merges it, but only if the checks still pass. Your site's pipeline (or hotdog-cms publish) then puts the finished pages on your web server, a VPS or a container. Visitors get plain files and nothing else.
5. Every day after
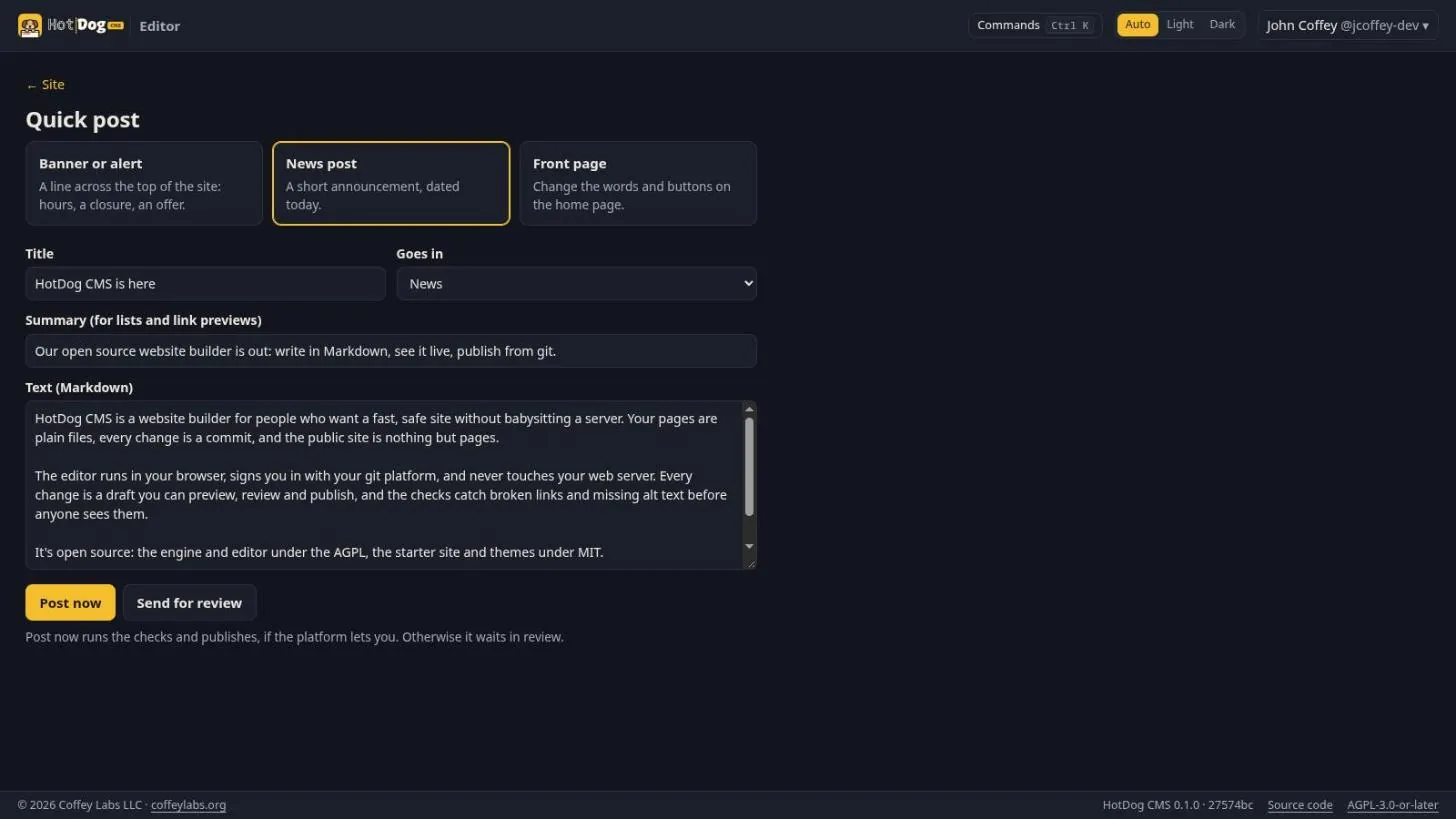
For news, a banner or a front-page change in a hurry, use Quick post: one form, and Post now runs the checks and publishes in one step. Send for review if someone should look first.