

Move a WordPress site to HotDog CMS
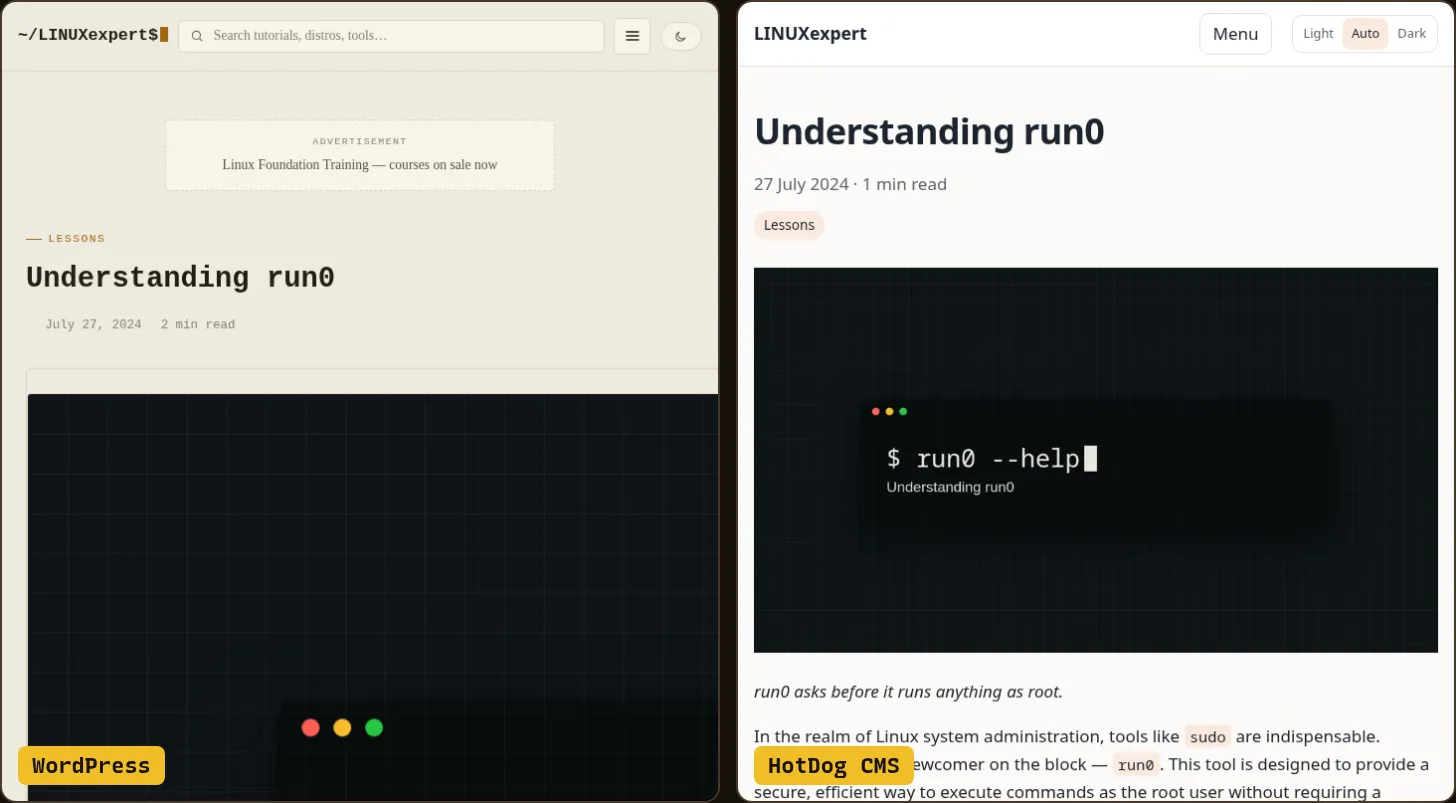
A WordPress site with fifteen articles, six pages and its pictures, moved in one command. Narrated, with captions, and every step is written out below.
The steps
1. Before you start
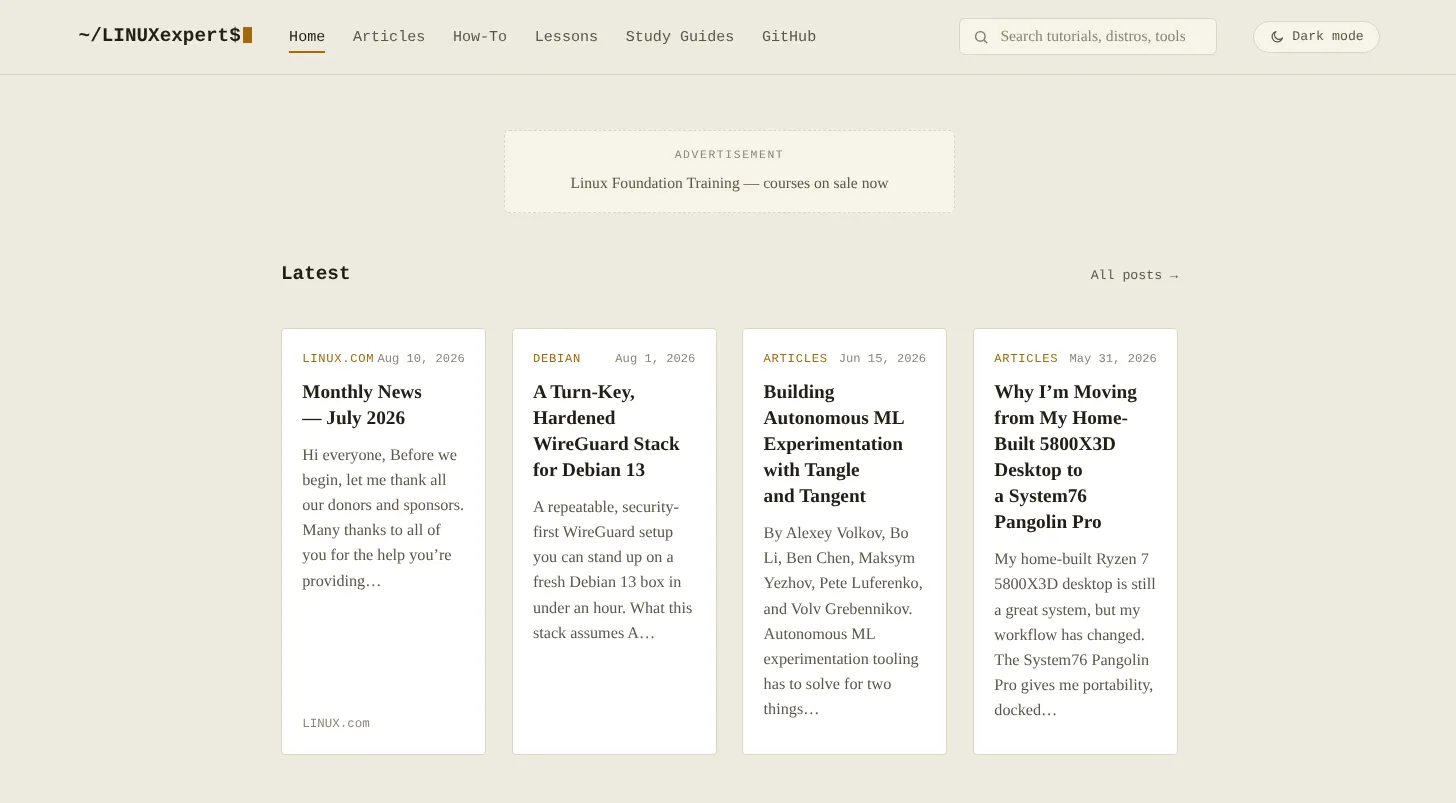
Leave your WordPress site running: the import reads from it. You don't need to install anything on WordPress, or log in, to bring across what's published.
2. Import
Install hotdog-cms (see Install), start a site from the template, and put your site's name in site.yaml:
hotdog-cms new mysite
cd mysite
Then bring WordPress across with one command, using your site's address:
hotdog-cms import wordpress -url https://your-old-site.example
It copies every published post and page, and their pictures.
Drafts and private posts too? In WordPress, open Users → Profile → Application Passwords and make one. Then give it to the import with your user name:
export HOTDOG_WP_PASSWORD='the application password'
hotdog-cms import wordpress -url https://your-old-site.example -user yourname
The password is only used while the import runs and is never saved. Revoke it in WordPress when you're done.
No access to the live site? Export it in WordPress (Tools → Export) and import the file instead: hotdog-cms import wxr -file export.xml.
3. Check what came across
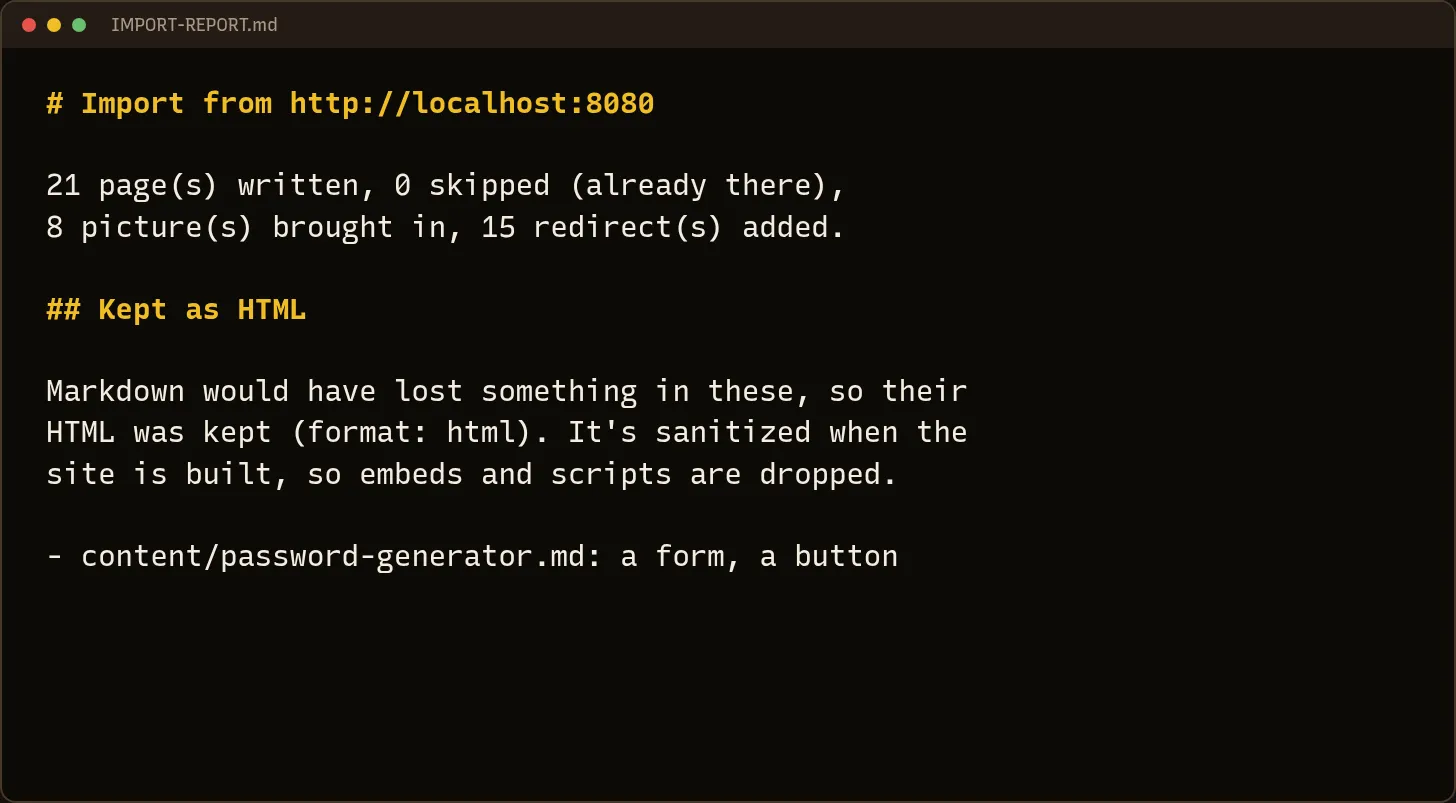
The import writes IMPORT-REPORT.md in your site's folder. It lists what came across and anything that needs a look: a page Markdown can't hold (a form, an embed, a page-builder layout) keeps its HTML, and the report says why.
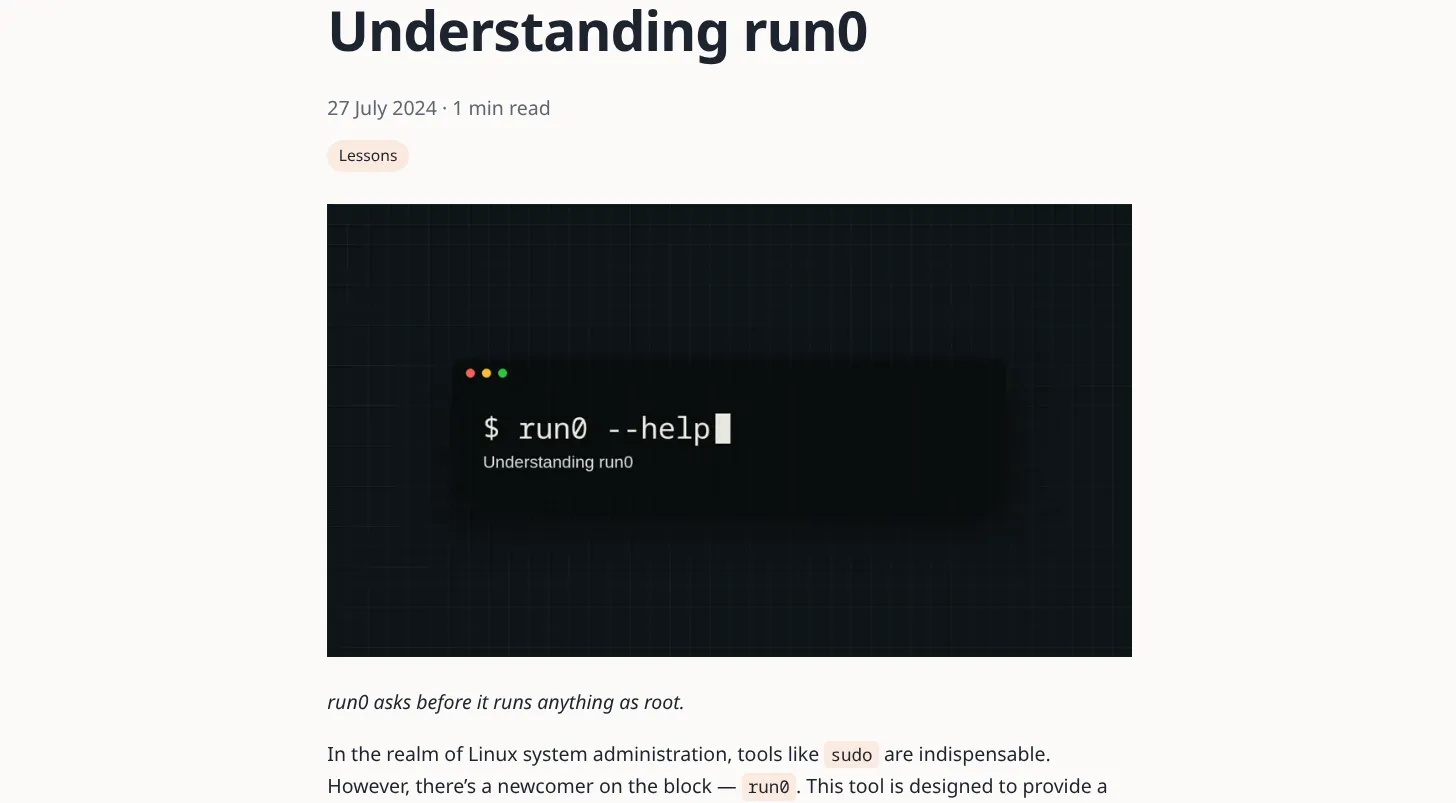
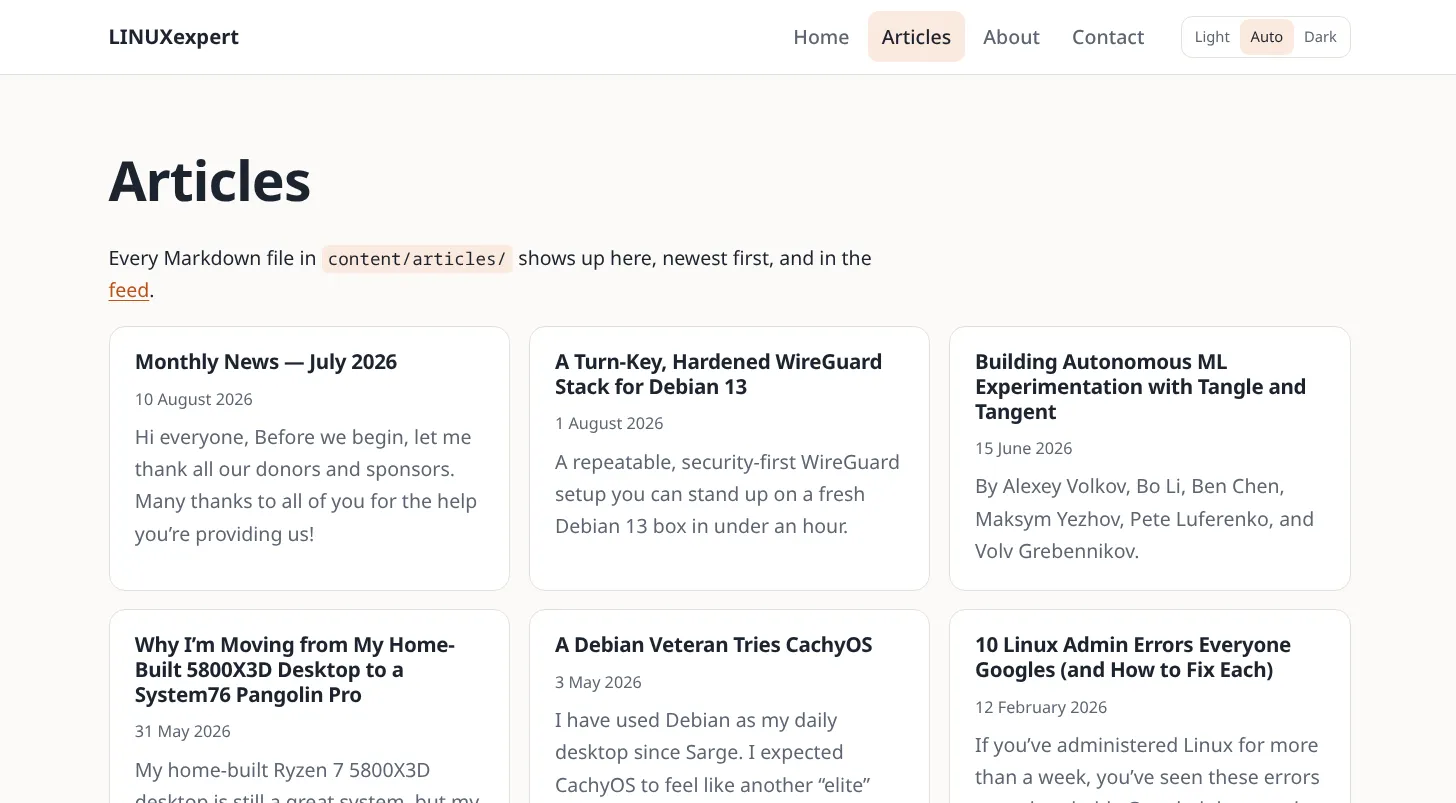
Every post is now a Markdown file in content/articles/, with its title, date, tags and summary at the top. Open one in any text editor, or in the HotDog editor. Pictures come across too: resized, saved as WebP as well, and stripped of camera and location details. Captions stay with their pictures.
4. Tidy up
The template's own sample pages are still there. Delete the ones you don't need, such as its About page if WordPress brought its own, and the template's sample article. Then run the checks:
hotdog-cms check
If anything still links to a page you deleted, the checks say exactly which page and where. Point the link at the new page (menus are in site.yaml) and check again. Errors stop a publish; warnings are only suggestions.
5. See it
Preview the site with hotdog-cms serve and open the address it prints.
Every old address still works: the import adds a redirect for each page to site.yaml, so links people shared, and search results, land on the right page.
6. Make it yours
From here it's the same as the first tutorial: put the folder in git, open it in the editor, pick your look, and publish. When you're happy, point your domain at the new site and switch WordPress off.
Coming from Ghost, Hugo or Jekyll instead? They import the same way: hotdog-cms import ghost, hugo or jekyll.